| This guide shows you how to enable Multi-Factor Authentication (MFA) on your JAVLN account and confirm it is working. It applies to all JAVLN Platform users. |
Overview
Multi-Factor Authentication (MFA) adds a second layer of protection to your JAVLN account on top of your password. Once enabled, you will be asked for a one-time code from an authenticator app each time you sign in.
This guide walks you through enabling MFA and confirming that it works correctly. Complete the steps in order and do not close your browser until setup is confirmed in Step 5.
Before you begin
Make sure you have the following ready:
- Access to your JAVLN account login (email and password).
- A mobile device with an authenticator app installed. Microsoft Authenticator and Google Authenticator are both supported.
- A few uninterrupted minutes, since setup must be completed in a single session.
Step-by-step instructions
Step 1. Navigate to MFA settings
- Log in to your JAVLN account to access the main dashboard.
- Click your name or profile menu in the top right corner of the screen.

The profile menu is located in the top right corner of the dashboard.
- Select Manage MFA.

Choose "Manage MFA" from the account options.
Step 2. Scan the QR code
- Open your preferred authenticator app (Microsoft Authenticator or Google Authenticator) on your mobile device.
- Select the option to Scan a QR code within the app.
- Align your phone camera with the QR code displayed on your JAVLN screen.
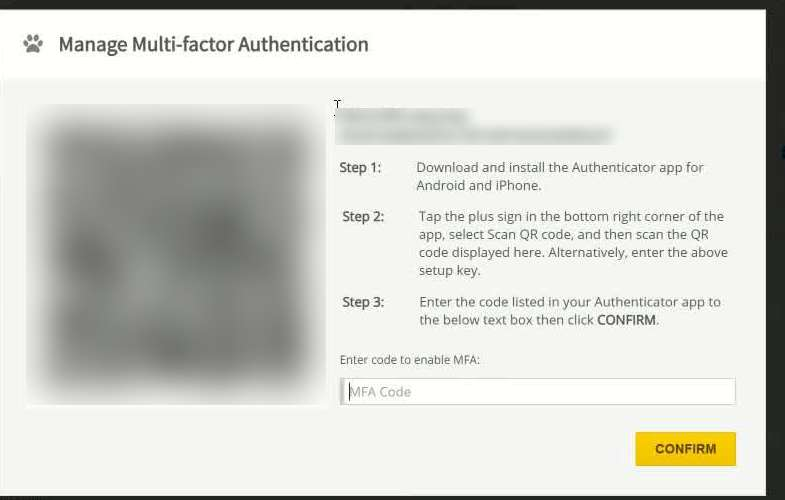
The Manage Multi-factor Authentication window, showing the QR code and setup key location.
| Note: If your guide shows a blurred QR code and setup key, that is intentional, since both contain a secret unique to the account they belong to. On your own screen the QR code will be sharp and scannable. |
Step 3. Label the MFA account entry
- In your authenticator app, edit the newly added account name so it is easy to identify.
- Use a clear environment label, such as JAVLN Prod.
- Save the account label before proceeding.
Step 4. Verify the authenticator code
- Locate the current 6-digit code generated by your authenticator app.
- Enter the code into JAVLN and click Confirm.
| Note: If the code is rejected, wait for the app to generate a fresh 6-digit code and try again. |
Step 5. Save and confirm setup
- Click Save after the code is validated.
- Confirm that the status on screen updates to "Multi-Factor Authentication Enabled".
- Do not close or navigate away from the screen until you see this confirmation.
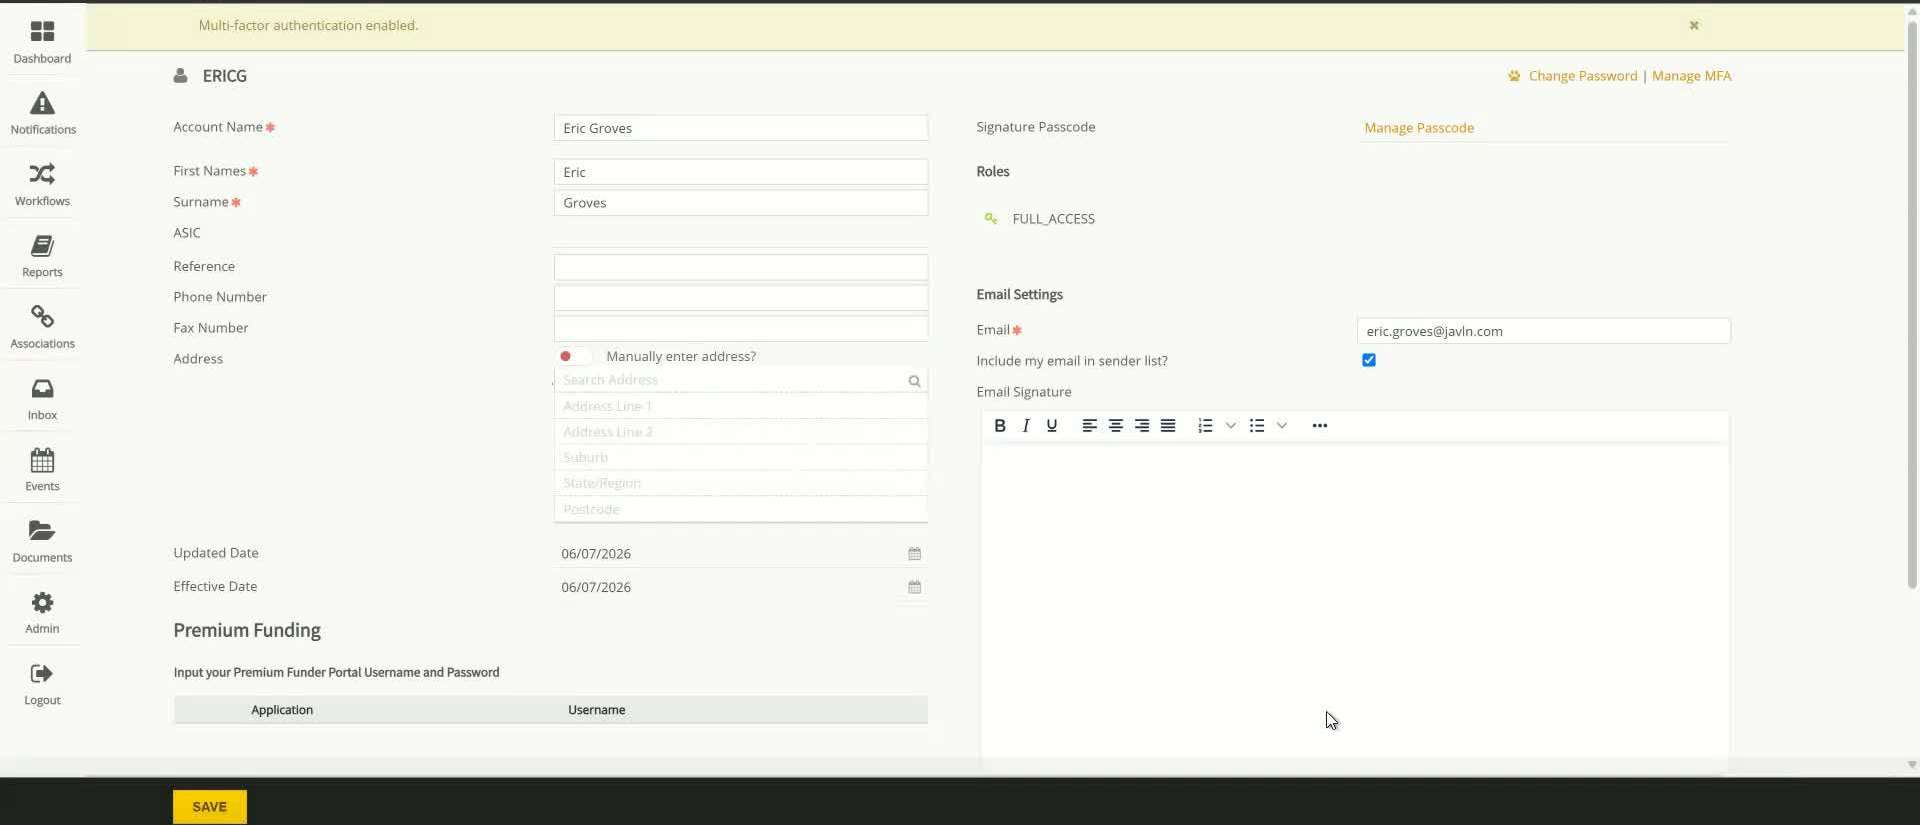
A green "Multi-factor authentication enabled" banner confirms setup was successful.
Step 6. Log out and confirm MFA is active
- Log out of the JAVLN application (and the server environment, if applicable).
- Sign back in to verify the MFA prompt appears.
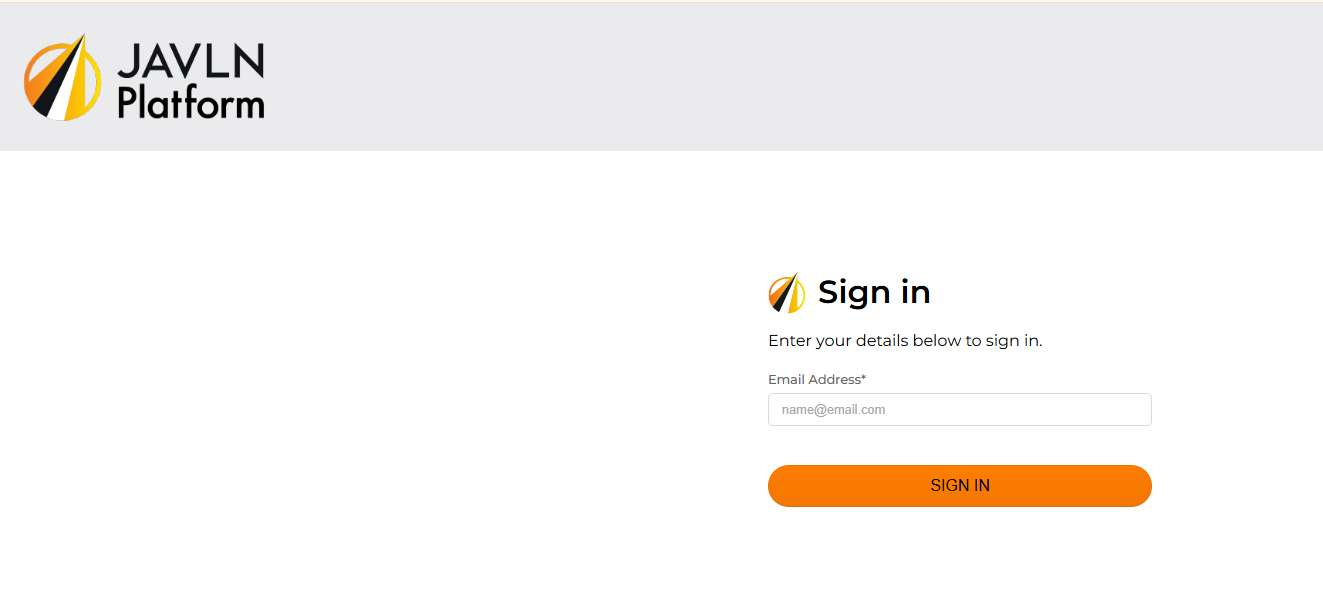
The standard JAVLN sign-in screen.
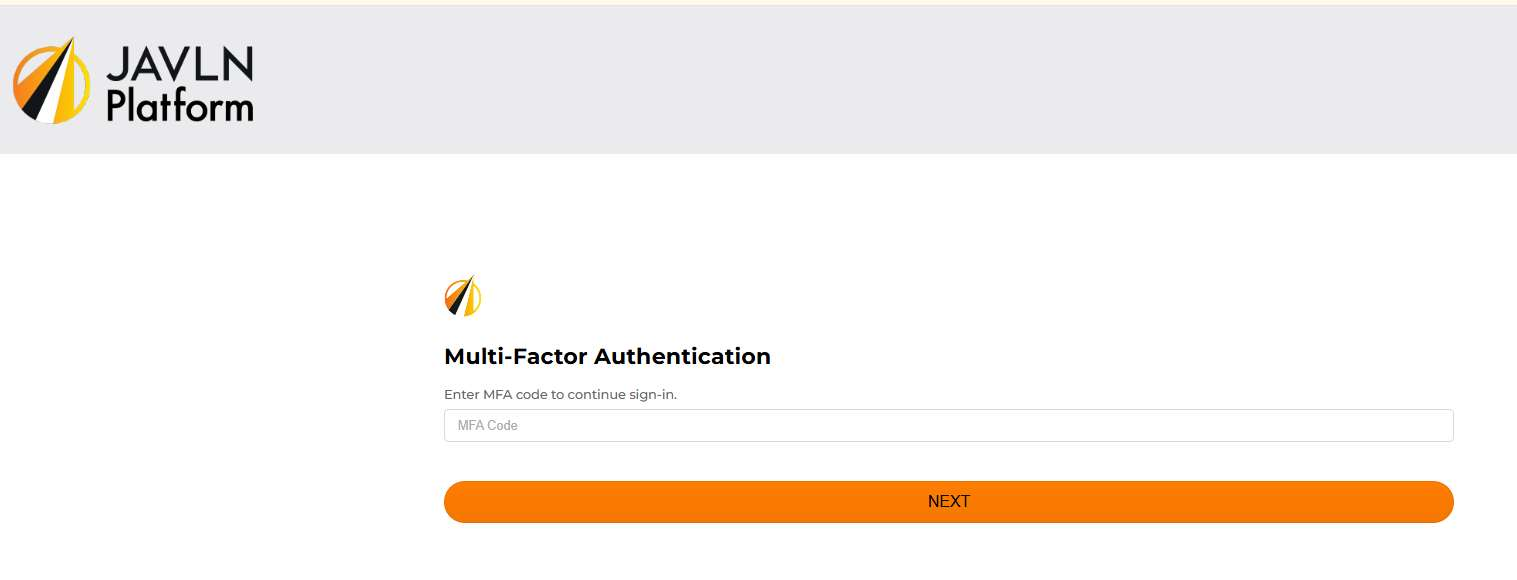
After signing in, you will be prompted for your MFA code.
- Enter the current 6-digit code from your app and confirm you can log in successfully.
Troubleshooting tips
- Codes are time sensitive. If a code is rejected, wait for your app to refresh and generate a new one before retrying.
- Make sure the clock on your mobile device is set to automatic or network time, since incorrect device time is the most common cause of rejected codes.
- If you lose access to your authenticator app, contact JAVLN support to reset MFA on your account.
Need help? Raise a support ticket at https://helpdesk.javln.com. If you don’t have JAVLN Helpdesk access please email helpdesk@javln.com |
Was this article helpful?
That’s Great!
Thank you for your feedback
Sorry! We couldn't be helpful
Thank you for your feedback
Feedback sent
We appreciate your effort and will try to fix the article